
Technical Support
Technical Support
Looking For Help?
Check out the resources below or join our Discord Community to ask our team directly.
High-Level Questions
What is SlimeVR and how does it relate to Somatic?
SlimeVR is an opensource project on the forefront of full-body tracking (FBT) in VR. Somatic has created custom hardware that runs on the software created by the SlimeVR community to provide a seamless FBT experience without the need to assemble the trackers yourself.
How do these things even work?
Each tracker is able to precisely measure its rotation. When at least 5 trackers are calibrated to your waist, thighs, and ankles, then the SlimeVR server uses your proportions and headset position to calculate your joints, and trackers position using this info.
More trackers = more points of rotation measured = more realistic movements!
How do I turn my trackers on and off?
You can turn your Eros Trackers on by pressing the button on the bottom side of the tracker case. Otherwise, the Eros Trackers will automatically turn on when they are connected to a power source. They will remain in a low power state when not in use to maximize battery life.
To completely power off the device, hold down the button on the bottom side of the tracker for at least 5 seconds. You should see the lights flash twice to indicate the device is successfully powered off.
What is the difference between Eros Core and Eros Pro?
The core tracking technology in the Core and Pro versions is exactly the same. The Core set comes with five individual trackers that attach to your waist, knee, and ankle to capture the movement of your lower body. The Pro set comes with five additional trackers that attach to your elbows, feet, and chest.
The Core set is for someone dipping their toe into full body tracking while the Pro set is for someone looking for the maximum immersion possible!
What headsets will this work with?
The Eros Trackers will work with all headsets that work with SteamVR. We are working on a software application that will enable the trackers to run natively on any standalone headset. We anticipate updating this functionality in early 2024.
What countries do you ship to?
Eros Trackers are cleared for sale in the US and Canada. We are working with 3rd Party testing facilities to meet the requirements of the EU and UK with expectations for clearance in early 2024.
How long will it take for me to get my trackers?
We build and sell our trackers in batches of 500. If they are currently in stock, we will ship them out within 1 business day. We will provide tracking numbers for all shipments for you to know exactly when your new trackers will arrive!
What is the warranty/return policy?
You have 30 days to return Eros Core or Eros Pro with the free return label included in the original package - no questions asked. For more information, please see our Return Policy.
If a component breaks within 12 months of your initial purchase, please contact our team at contact@somaticvr.com for a free replacement!
Please note that Returns and Warranty ONLY apply to Eros Core and Eros Pro. DIY components are final sale.
What Is In The Box?
What is the battery life?
Eros Trackers contain a 1000mAh rechargeable battery that will last for at least 10 hours of use. To verify this claim, we created a motorized arm to constantly rotate the tracker to measure the battery life under a worst case scenario.
What is an IMU and which one are you using?
IMU stands for Inertial Measurement Unit. The IMU measures rotation of a given device to keep it properly oriented.
Eros Trackers utilize the BNO085 which is one of the highest quality IMUs available to consumers today. The higher the quality of an IMU, the better the tracking accuracy for longer periods of time.
Click the link below to see a side by side comparison of the accuracy of our trackers vs other IMUs.
What is IMU Drift?
IMUs are measuring relative rotation over time. The slightest inaccuracy in this measurement can compound over time to result in a noticeable difference between your real limb rotation and the virtual limb represented. To minimize the impact of drift, we selected the highest quality IMU on the market - the BNO085. Click the link below to see a side by side comparison of our tracker vs other common IMUs.
If your trackers are to drift while in use, you can easily recalibrate with a simple double tap: Tapping Chest- Yaw reset, resets the trackers to assume they are facing their defined mounting facing. Tapping Right Thigh- Full reset, resets the trackers to the assumption that you are in an I-pose. Tapping Left Thigh- Mounting reset, resets the trackers facing. You must be in the ski position you took for the facing wizard for this to work.
How do I charge the trackers?
Eros Trackers can be charged by plugging the provided USB-C cable into any compatible charging brick. Additionally, you can charge more than one device at a time by stacking the trackers on top of the one that is currently plugged in to provide power to all of your trackers with a single cable.
Why do I have stickers?
The stickers are provided to help simplify the setup process each time you use your trackers. The SlimeVR server will remember the assigned location of each tracker between sessions meaning that you should only need to go through the mounting and proportions process once if you use each tracker with the same assignment as your previous session.
What straps should I be using?
We provide three distinct strap sizes to mount trackers across your body. The Large straps (120cm) are designed to be used for the chest and waist trackers. The Medium straps (60cm) are designed to be used for the thigh trackers. The Small straps (30cmm) are designed to be used for the ankles, feet, and elbows.
The Core Set includes: 1 Large, 2 Medium, and 2 Small straps
The Pro Set includes: 2 Large, 2 Medium, and 6 Small straps
What Is NOT In The Box?
Where is the manual?
In an effort to cut down on waste, we have made the full manual available as a PDF rather than including it in every box.
You can access the PDF here: Link coming soon
Where are the extenders and connector cables?
While other trackers rely on extenders and cables to enable full body tracking, Eros Trackers have opted for a single design to simplify the tracker management and eliminate the chance of cable breakage that is a common complaint of other tracker sets.
Where is the charging brick?
The Eros Trackers are designed to be charged with any USB-C charging brick. Just be sure to use the provided USB-C cable for optimal charging performance. We made this decision in an effort to minimize the creation of more e-waste.
How do I download the Server?
The Eros Trackers utilize the SlimeVR Server that can be downloaded here: https://slimevr.dev/download
After the Server is installed, just follow the steps in the QuickStart guide included in the box to get up and running in no time!
Where can I download the 3D print files for the case and strap adapter?
If you want to custom print your own cases and strap adapters, follow the steps outlined here: github.com/SomaticVR
Setting Up Apps & Games
How do I set up my trackers?
Make sure that you have already properly downloaded and installed the SlimeVR server prior to setting up your trackers. Once the Server is running, follow the step by step QuickStart guide to get up and running.
Click Here to access QuickStart Guide
What is the difference between manual and automatic mounting?
"Mounting" is how you tell the SlimeVR Server what orientation the trackers are in when they are attached to your limb when you are standing upright with your arms at your sides.
Manual Mounting will have you select the specific orientation of each tracker in relation to which way your body is facing.
Automatic Mounting will have you complete a specific sequence of movements that will help all of the trackers calibrate their orientation automatically.
At this time, we recommend that you use the manual mounting process in the SlimeVR Server for optimal performance.
What is the difference between manual and automatic proportions?
"Proportions" is how the trackers know their relative distance from each other to calculate the correct location in space when they rotate.
Manual Proportions will have you input the measurements of each limb segment.
Automatic Mounting will have you complete a specific sequence of movements that will help all of the trackers automatically measure your body proportions.
At this time, we recommend that you use the automatic proportions process in the SlimeVR Server.
How do I recalibrate my trackers without having to take my headset off?
Follow the process to learn about the three different types of resets built into the trackers:
Tapping Chest- Yaw reset, resets the trackers to assume they are facing their defined mounting facing.
Tapping Right Thigh- Full reset, resets the trackers to the assumption that you are in an I pose.
Tapping Left Thigh- Mounting reset, resets the trackers facing. You must be in the ski position you took for the facing wizard for this to work.
How do I connect my trackers with Steam VR?
If you are using your trackers for SteamVR, you should spawn trackers to match your set up by toggling them on in the SteamVR section of the Settings menu on the SlimeVR Server.
Depending on your tracker setup, we recommend using the following settings:
Eros Core Tracker Set (5 trackers) - Waist and feet.
Eros Pro Tracker Set (10 trackers) - Chest, waist, knees, feet and elbows.
To verify that everything is working correctly with SteamVR:
1 - right click on the SteamVR window and open settings
2 - select "controllers" from the menu
3 - select "manage trackers"
4 - verify that all trackers are correctly connected to each limb input indicated by a green circle next to the SlimeVR tracker name.
What is OSC and how does it help me play VR Chat on the Quest?
OSC stands for Open Sound Control. VRChat developed a system for it to be used to control the avatar and virtual trackers, allowing for fully body tracking on Quest 2. You can read the VRChat documentation on it here.
Once you have set up your trackers and mounted them correctly, you can set up OSC.
In the SlimeVR Server, navigate to Settings > OSC > VRChat and toggle on OSC to enable it.
Next, you will need to enter your Quest's IP address into the SlimeVR Server. You can get this by opening the Quick Settings menu on your Quest, selecting Wi-Fi, your currently connected network, and scroll down and click the arrow. The IP address is listed there.
Now that you have the SlimeVR side set up, you can now connect VRChat to SlimeVR!
Open VRChat on your Quest and use the Radial Menu to select Options at the top > OSC > and enable it.
Walk over to a mirror, open the quick menu, and press "Calibrate FBT". Make a T-Pose, lining yourself up with the T-Pose in the mirror. Press reset on the server. Pull both triggers, and you're done!
Created by lordbagel42. SlimeVR OSC implementation by erimel.
Can I use these trackers with ShadowPC?
ShadowPC is a cloud computer solution that locks in your USB peripherals for a seamless experience. By offloading everything to the cloud you don't need a powerful gaming rig to get a playable experience.
Steps to setup:
1. Log in to shadow pc, install:
- Virtual Desktop Streamer
- Steam
- SteamVR
- Any desired steam vr game
- The SlimeVR Server
- VirtualHere client
2. Connect the lan cable and ensure the usb forwarding is set up for that adapter.
3. Shadow pc should show a new Ethernet connection in the network and sharing center.
4. Make sure that the connection is set to private, keep shadows main Ethernet connection alone.
5. Once all of slimes are connected to your WiFi router that the Ethernet cable is also connected to, launch slime vr server on shadow pc. The slimes should show up and be reporting their rotation data.
6. Configure slimes following the official documentation.
7. Launch your vr game and enjoy.
To improve performance make the shadow pc official client only use 5mbps max of bandwidth. Disabling video buffering in virtual desktop helped the most for vr gameplay. Having a fast connection will improve your experience. For usb forwarding the upload is the most important.
Required components and software:1. A HMD with great virtual desktop support like the Oculus Quest 2.
2. An active shadow pc subscription.
3. A virtual here server license with an always on computer. A raspberry pi works.
4. A usb to Ethernet adapter. It's possible to use a usb WiFi adapter that supports windows 10/11 hotspot functionality, however ethernet connected to the wifi network configured for your slimes tends to be more reliable.
5. A license for virtual desktop.
6. A device that can stay awake while you're in vr that supports the official shadow pc client, for example an iPad or Windows PC.
7. A fast 5ghz WiFi router that also supports 2.4ghz, almost any dual band router should suffice.
8. An Ethernet cable and free Ethernet port at your router for the usb to Ethernet adapter.
This guide was written by a community member, ShadowPC is not affiliated with SlimeVR or Somatic VR.
Original write up: blaineam, Edited for Docs usage by: smeltie, Updated to reflect recent ShadowPC client changes by blaineam
Help! My Trackers Aren't...
Why aren’t my trackers charging?
If you are charging a tracker directly via the provided USB-C cable, you should see the internal LEDs pulsing while the battery is charging. The LEDs will remain on once the tracker is fully charged and remains connected to a power source.
If you are charging a tracker by stacking, make sure that the USB-C cable is attached to the lowest tracker in the stack. Power will only move up the stack to charge the trackers one at a time. You can quickly check the charge status of the stack based on how many trackers are lit (fully charged), blinking (actively charging), and no light (waiting to be charged).
Why aren’t my trackers turning off?
The Eros Trackers are designed to remain on in a low power state when not in use to be ready to go whenever you want to jump right into VR! If you are wanting to completely power off the device, hold down the button on the bottom side of the tracker for 5 seconds. When done correctly, you will see the device pulse twice before powering down.
Please Note: The Eros Trackers will automatically turn back on when plugged into a power source.
What should I do if my tracker case or strap adapter is broken?
Somatic VR is a strong advocate of your right to repair your electronic devices.
If this is your first broken component, we will cover the replacement free of charge. Reach out to our team via Discord or the form on our Contact Page to begin the request for replacement components.
If this tends to happen to you a lot, we are still here for you! We make all of our components orderable at the same cost that we pay to source them - no questions asked.
If you want to show off your own style with a custom case or strap adapter design, we have made all of our design files opensource for you to modify to your heart's content.
Why are my trackers moving the wrong body part?
If this is a problem in VRChat, try reducing the IK Calibration range to something smaller (e.g. 0.2).
If this happens in SteamVR, make sure your trackers are assigned to the right body parts in SlimeVR. Once that is done, you can verify that everything is linked correctly with SteamVR by:
1 - right click on the SteamVR window and open settings
2 - select "controllers" from the menu
3 - select "manage trackers"
4 - verify that all trackers are correctly connected to each limb input indicated by a green circle next to the SlimeVR tracker name.
Why do my feet keep sinking into the floor?
This will be due to either your physical tracker setup or bone proportion calibration.
Try:
1. Making sure "Skating correction" and "Floor clip" are enabled in the SlimeVR Settings > Tracking settings (doesn't work for Quest Standalone for now).
2. Running through the Automatic Body Proportions Calibration again.
3. Change your physical tracker mounting on your body and redo the mounting process.
4. Adjust your bone lengths manually by completing the manual Proportion setup.
Why do my trackers move in the wrong direction when I move?
1. Try the experimental Automatic mounting calibration.
2. Make sure your mounting orientations for your trackers in the server are correct.
3. If it’s only off by a few degrees, shift your trackers inwards or outwards a bit, then full reset.
Why aren't my legs bending?
Make sure you have upper leg trackers above your knees and assigned as "upper leg" trackers as well as lower leg trackers below your knees assigned as "lower leg" trackers. Also - make sure your lower legs trackers are right above your ankles and not on your feet.
How do I keep my legs from crossing when I sit down?
1. Use the experimental Automatic mounting calibration.
2. Try mounting your upper leg trackers more inwards.
3. Try mounting your upper leg trackers higher on your thighs or lower on your upper legs depending on your build.
4. Calibrate with your legs straight and manually insert a hip width (24-32) in your body proportions.
Server Troubleshooting
Where do I download the Server?
The Eros Trackers utilize the SlimeVR Server that can be downloaded here:
After the Server is installed, just follow the steps in the QuickStart guide included in the box to get up and running in no time!
Why is the Server is not giving my Wi-Fi credentials to the trackers?
The Wi-Fi credentials section of the SlimeVR server is Case Sensitive and must be input exactly as labeled by your router.
Another potential source of error could come from the cable that you are using only transmitting power. Make sure that you are using the USB-C cable provided whenever you need to plug your trackers into your computer.
Why isn't my tracker connecting to Wi-Fi or appearing on the SlimeVR Server?
The two common issues that cause this error are:
1. Make sure you are connecting to a 2.4GHz network, 5GHz networks are not supported.
2. Check your SSID for special characters. At the time of writing SlimeVR only supports network SSIDs that contain alphanumerical characters.
If all of this is correct, you can check your gateway's list of connected devices to see if all your trackers are connecting. If a tracker is not connecting, check if your Wi-Fi has reached its maximum allowed Wi-Fi connections. You can test this by disconnecting devices and then trying to connect your trackers again.
Why isn't the SlimeVR Server opening?
If there's a port error, make sure you don't have other instances of the server running and/or restart your PC.
This may also be caused by Java not being installed or issues with your Java installation. If the previous step did not solve the problem, uninstall the SlimeVR Server. Then re-download and install the server. The Server download can be found here: https://slimevr.dev/download
My Trackers are connected to Wi-Fi but why wont they turn up on SlimeVR?
Check that you do not have two copies of the SlimeVR server running, as only one of them will show trackers connected.
If only one server is running, this is most likely a firewall issue, go to SlimeVR Server folder and run firewall.bat as administrator to add the firewall rules to Windows Defender Firewall.
If you are still having trouble, try manually adding the SlimeVR Server to your firewall.
1. Go to Settings > Network & Internet then click on the text link Window Firewall (you may have to scroll down).
2. In the firewall window, click the link Allow an app through firewall.
3. Click the Allow another app... button, and then Browse... in the opened Add an app window. If your options are greyed out in the Allowed apps window, click the Change Settings button to allow changes.
4. In the File name text box, type. and press enter before navigating to slimevr.jar in your SlimeVR server folder and select it (if you cannot see files in this folder, try typing. and pressing enter again to show all files).
5. Click the Add button to add the file to your firewall settings.
6. Finally, make sure both public and private checkboxes are selected in the Allowed apps window before clicking OK to save the changes.
>br>If adding SlimeVR to your firewall has not worked, you can try to diagnose the issue further with the following steps:
1. Try completely disabling Windows Defender Firewall on your computer temporarily to test if the trackers will connect.
- If the trackers only show up on SlimeVR when Windows Defender Firewall is disabled, then you have a problem with your firewall.
2. Try pinging the tracker from your computer to see if it can be reached by opening Command Prompt (CMD) and run the command ping (IP), where IP is your tracker's IP (ex. ping 192.168.0.1). You can find the tracker's IP using the "Serial console" under the "Settings" tab of the SlimeVR GUI.
- If the command outputs something like Reply from 192.168.XXX.XXX: Destination host unreachable., then you likely have a problem with either your router or your firewall.
- If the command outputs something like Reply from 192.168.XXX.XXX: bytes=32 time<1ms data-preserve-html-node="true" TTL=63, then you likely have a problem with either your network adapter or your network settings. You may need to enable broadcast packets (or something similar) on your router, as SlimeVR trackers broadcast to 255.255.255.255 to discover your SlimeVR Server.
3. Try hosting a Wi-Fi hotspot either from your computer or your phone and connect your trackers to it to see if they will show up on SlimeVR using it.
- If the trackers don't show up on SlimeVR, then you likely have a problem with either your trackers or your computer. It may be worth trying disabling your Windows Defender Firewall as per the first step, but using this Wi-Fi hotspot instead.
- If the trackers show up on SlimeVR, then you likely have a problem with either your router or the network adapter you connect to your router with.
If none of these steps have helped you, you can reach out to our team directly via Discord or the contact form on our website.
Why are my Trackers showing up in the SlimeVR Server but not on SteamVR?
1. Make sure you installed SlimeVR with the installer to have the right SteamVR driver.
2. Make sure the SlimeVR addon is enabled in SteamVR Settings > Startup/Shutdown > Manage Add-ons.
3. Make sure you have SteamVR Trackers enabled in the SlimeVR settings.
4. Make sure that you have OSC disabled in the SlimeVR settings.
Why is the SlimeVR Server stuck at "Connecting to Server"?
Update your SlimeVR Server with this installer.
Why is the SlimeVR Server stuck as a tiny window?
Update your SlimeVR Server with this installer.
What does "WebView2 is missing" mean? / Why does my SlimeVR GUI crash immediately?
It's possible that you don't have the required WebView2 component installed, you can download the WebView2 installer fromhttps://developer.microsoft.com/en-us/microsoft-edge/webview2/consumer/. To ensure that WebView2 installs properly, run the WebView2 installer as an administrator (right click, then click "Run as administrator") and make sure the installer is running from the C: drive on your computer. If it's still not working, try putting the installer in the root of the C: drive (ex. C:\MicrosoftEdgeWebview2Setup.exe) and running it from there.
DIY & Experimentation
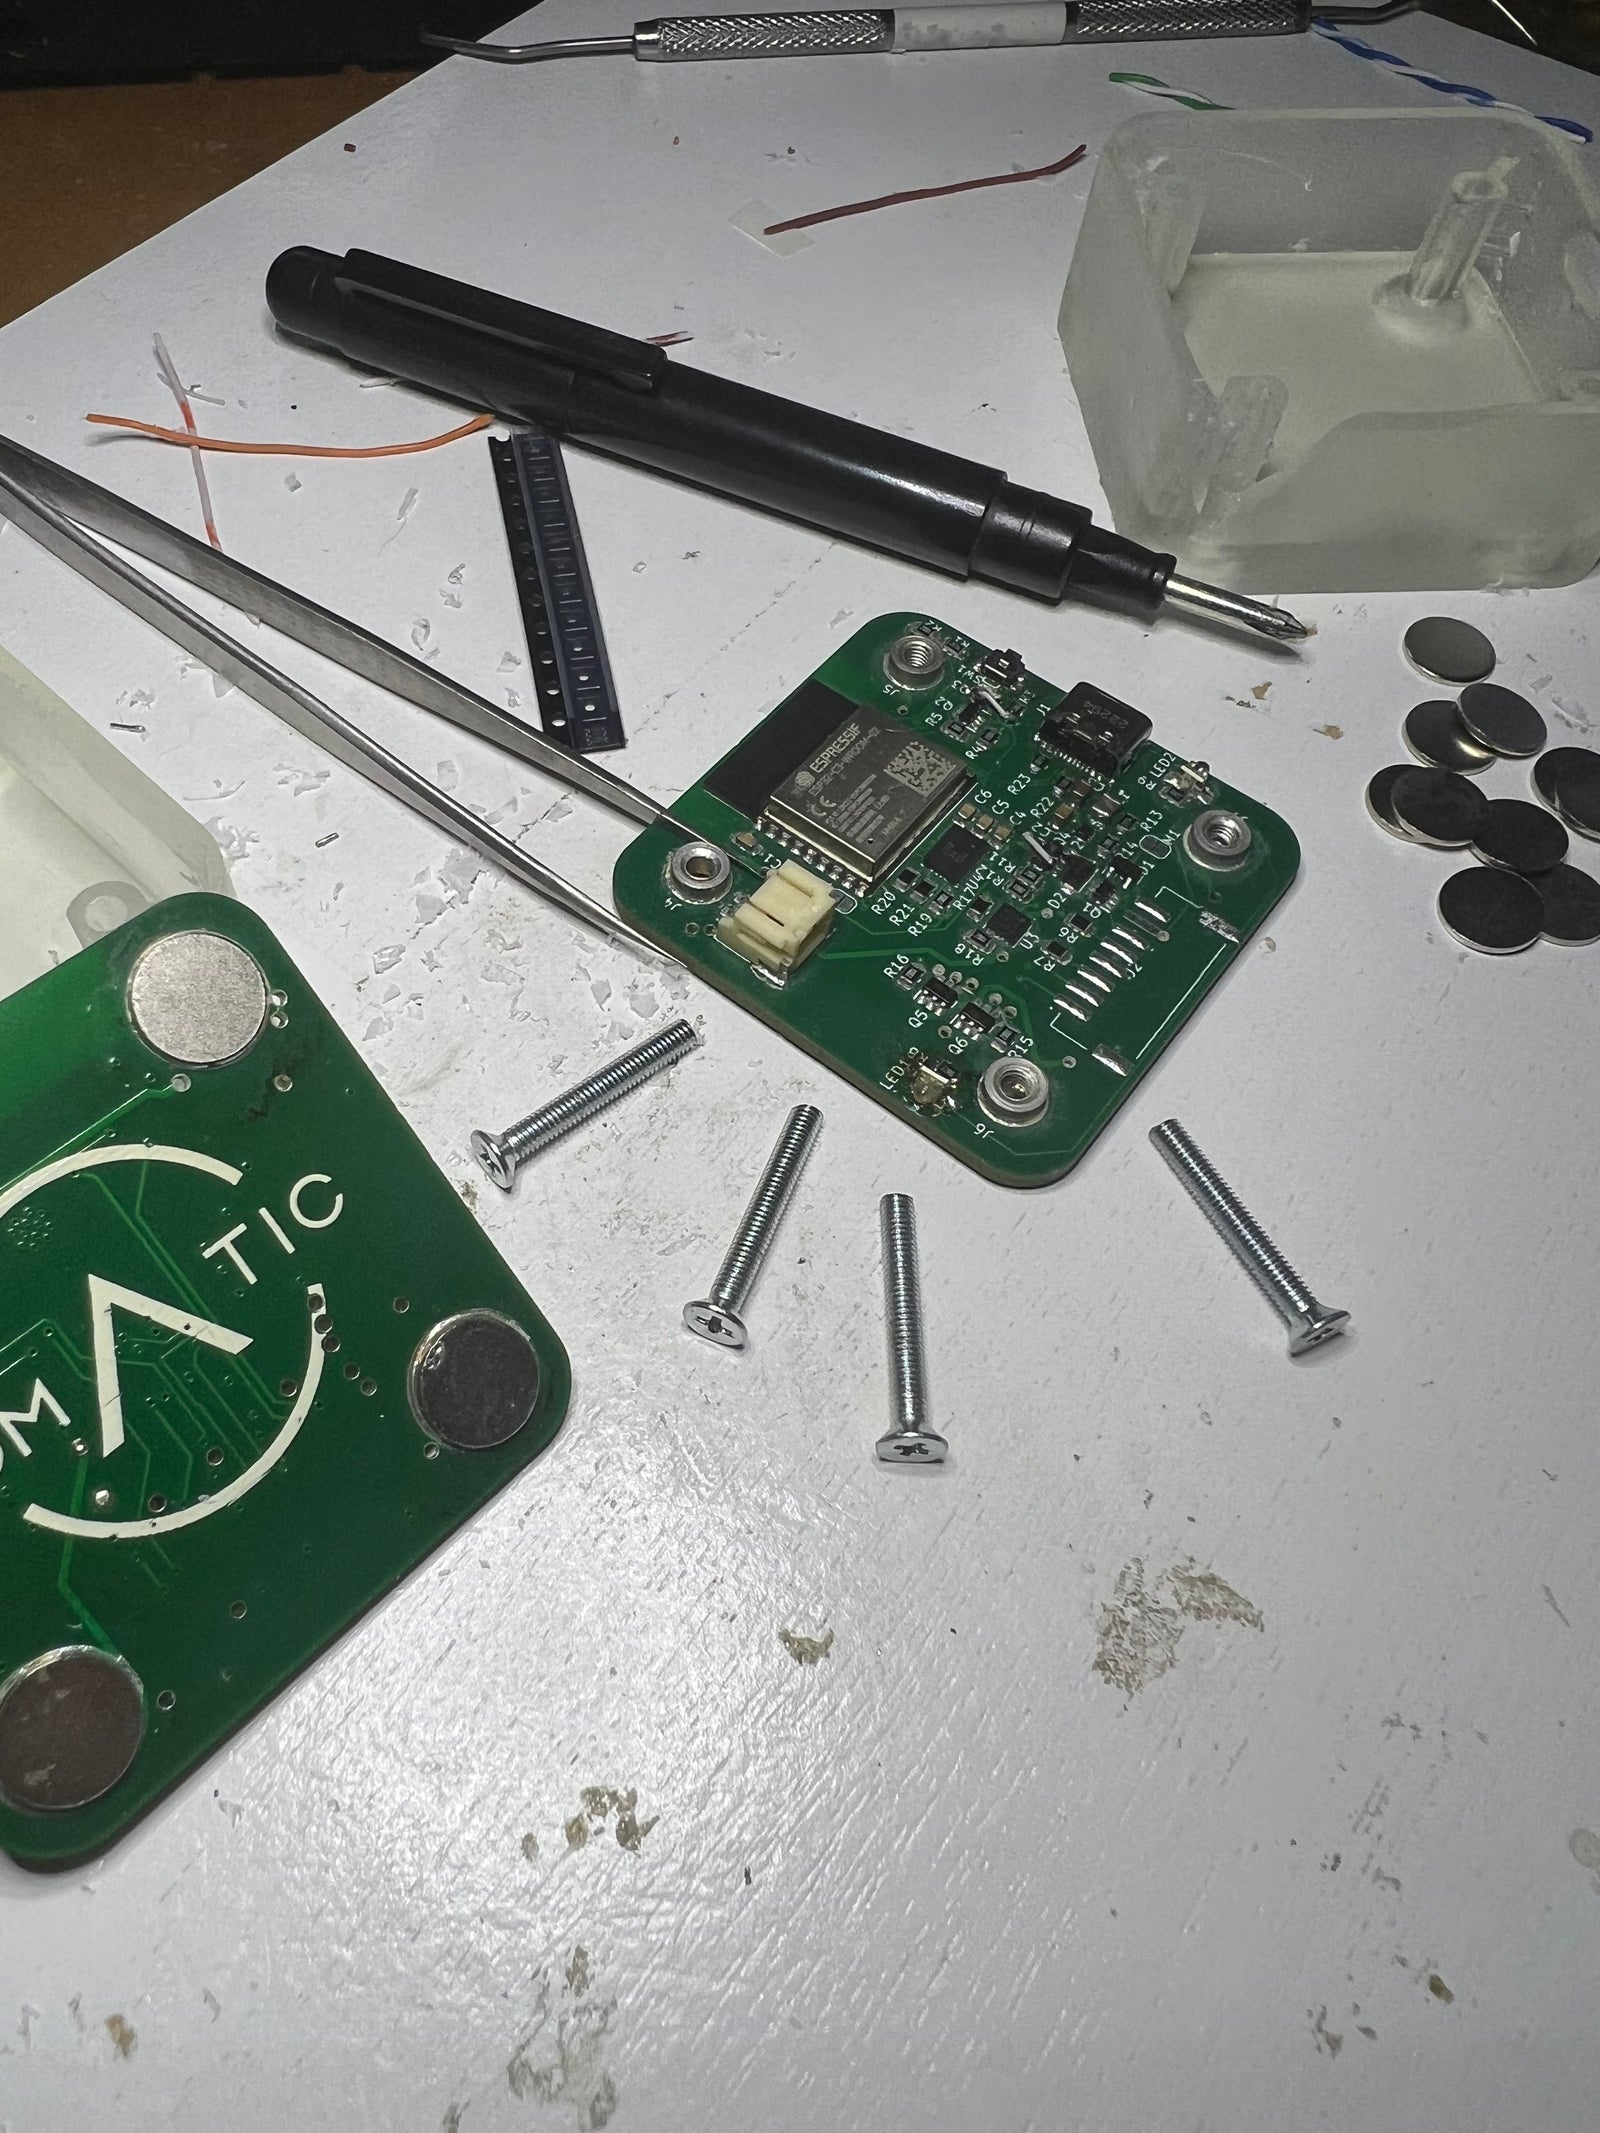
Where can I access the firmware?
You can find the open source firmware for our trackers on our GitHub: github.com/SomaticVR
Please note that this firmware is designed to run with the Eros Tracker design and may not work with other variants of SlimeVR trackers.
Where are the 3D printer files for the case and strap adapter?
You can find the 3D print files on our GitHub: github.com/SomaticVR
If you need additional components such as magnets, screws, and metal disks, they can be found at the bottom of the Products Page.
Where can I get replacement parts?
If this is your first time breaking a component, please contact us directly at Contact@SomaticVR.com for a free replacement!
If this is a regular thing for you, no worries! We have all of the components of our trackers for sale at cost to get you back up and running in no time. You can find them all at the bottom of the Products Page.
Have More Questions?
We are here to help! Send us a message below or join our Discord community to get immediate assistance.